The free Kore remote smartphone app provides you with another means of controlling your CoreBOX that is superior to the battery-powered remote in several ways.
Getting the App


Features
General
- Full-featured remote control
- Control CoreBOX’s volume (where supported)
- Manage multiple Kodi/CoreBOX instances
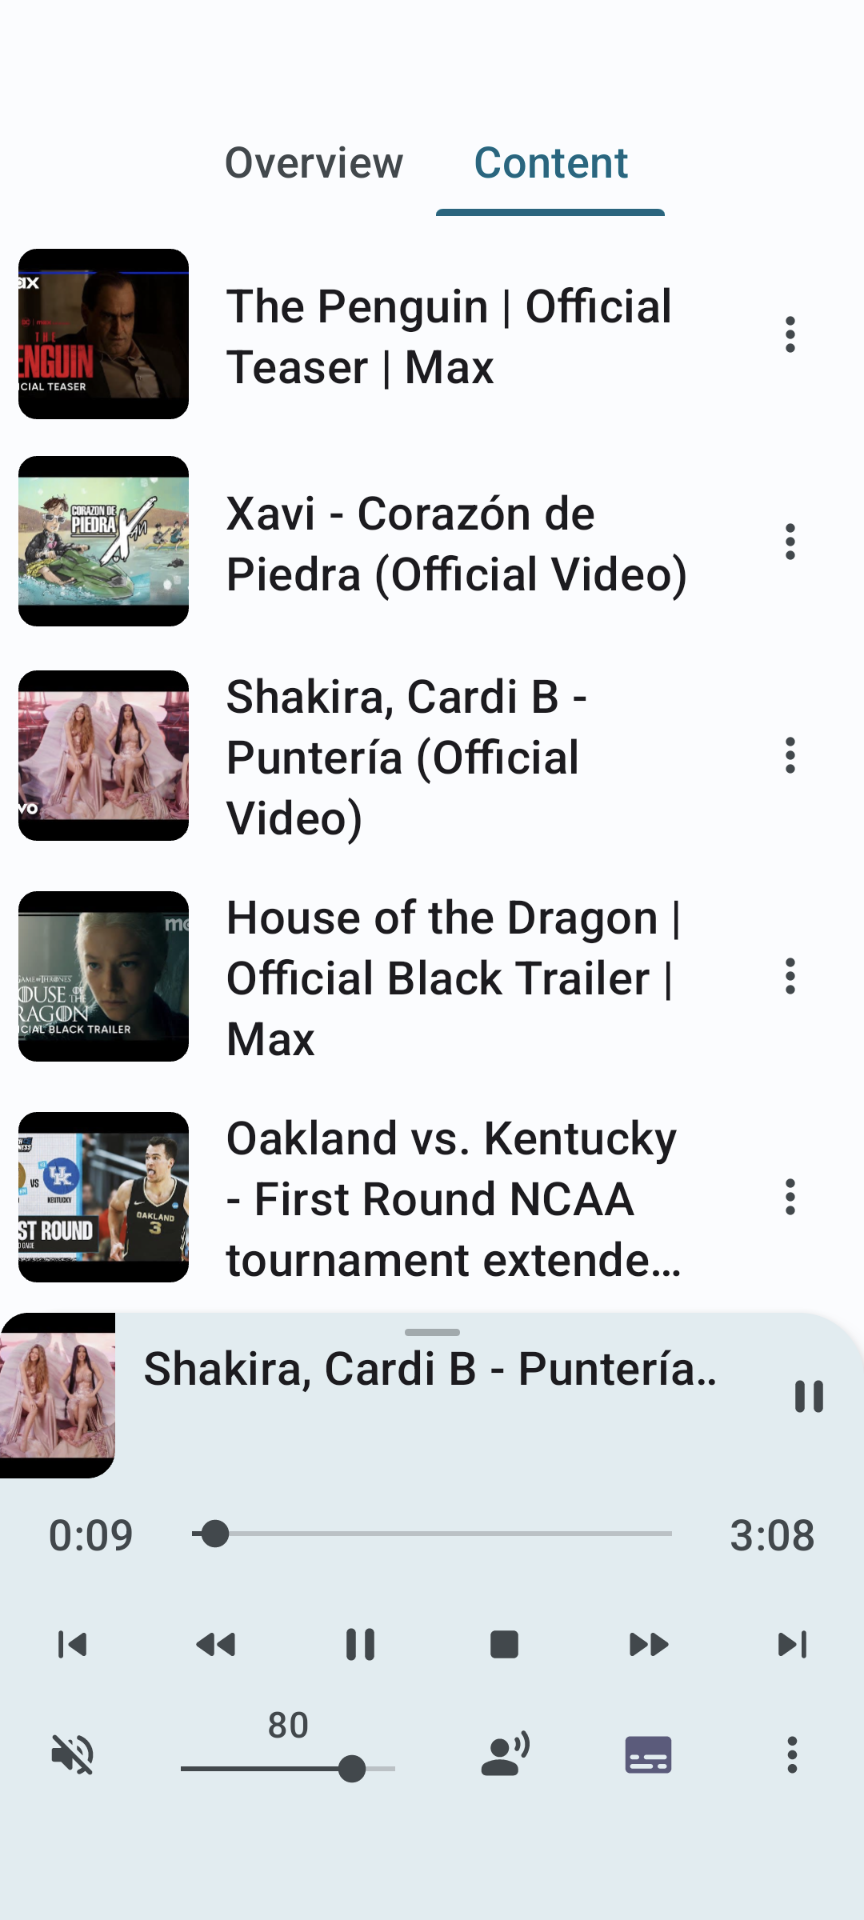
- Live view of currently playing playlist
- Setting that prevents your phone locking the screen
- Swipe left and right gesture recognizer for an easy navigation
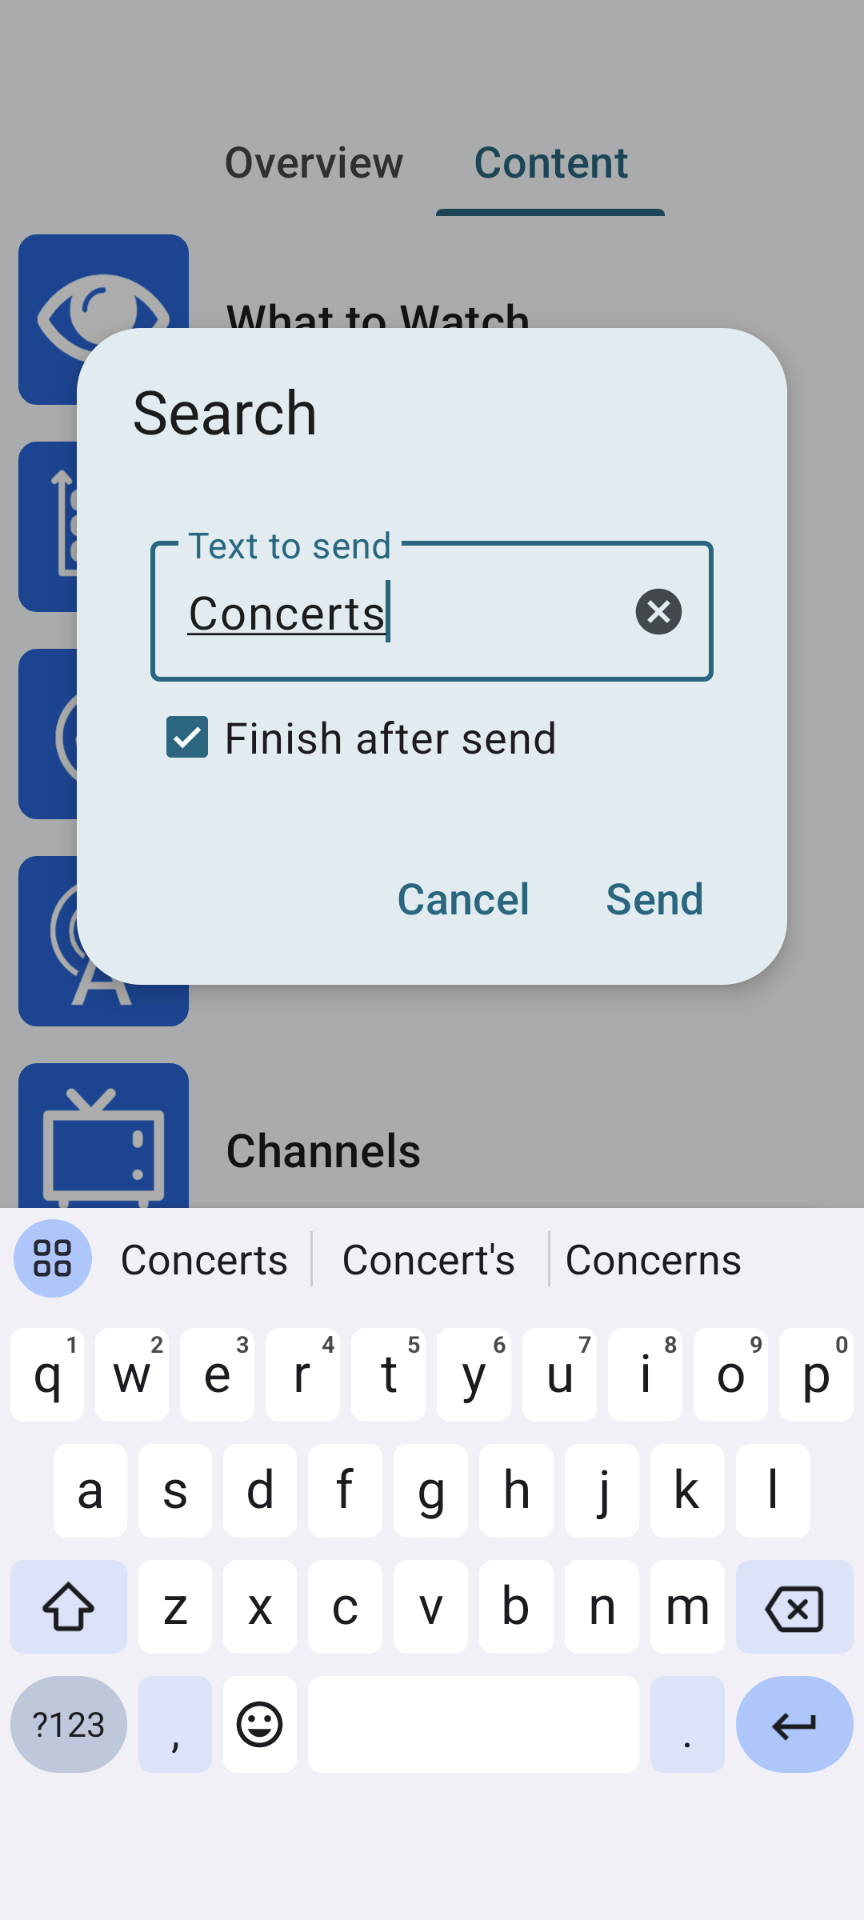
- Browse addons, categories, channels, and content directly in the app
- Playback queues
Music Library
- Cover art is shown where available
- Now playing screen allows skipping, seeking, stop and pause
- Browse by album, artist, genre
- List all albums and songs of an artist
- Browse files directly
- Play and queue albums, songs, genre selections and much more directly without having to turn on your TV.
- Listing of current playlist with options to jump to another song or remove a song with Music Party mode support
Movie Library
- Browse by title, actors, genre.
- Displays movie poster and actor thumbs where available.
TV Shows Library
- Browse by show, season, episode.
- Dynamic thumb rendering with wide banner support
- Displays episode and show details
How To Use Kore Remote
Prepare the CoreBOX for remote control by Kore
From the home screen, scroll left until the lefthand flyout menu appears, then scroll down to highlight “Settings.” Click “OK.”
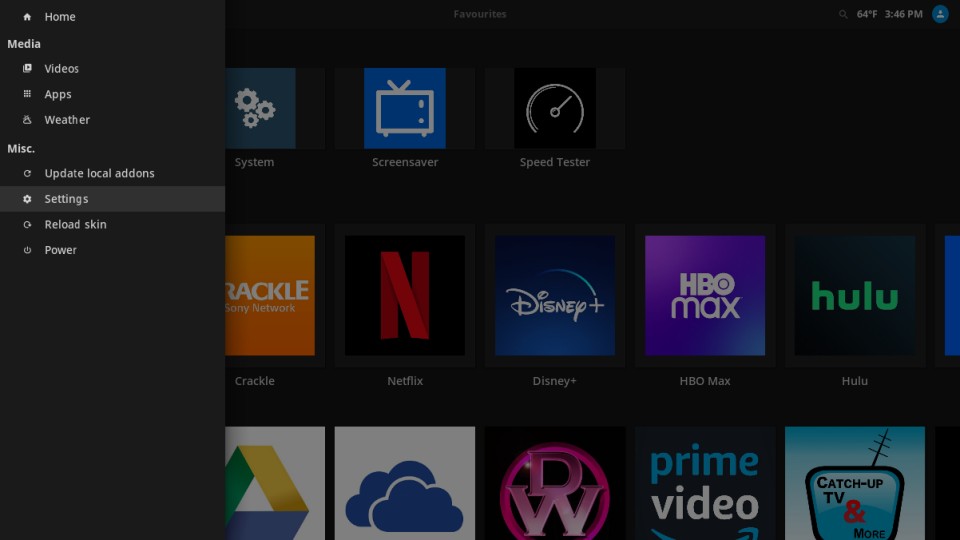
Scroll down to the system group, then highlight “Service settings.” Click “OK.”
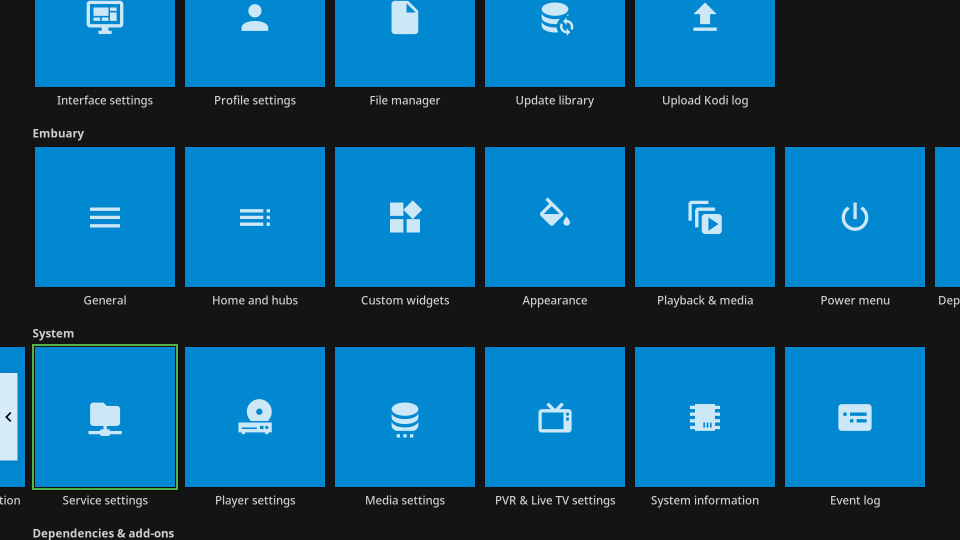
Note: XMBC/Kodi’s settings have various display modes: Basic, Standard, Advanced, and Expert. You must be using Standard mode or higher to perform the next step. To verify this, look at the bottom of the left-hand panel where it says “Settings mode.” If the mode is currently set to “Basic,” click on it until it displays “Standard” or higher.
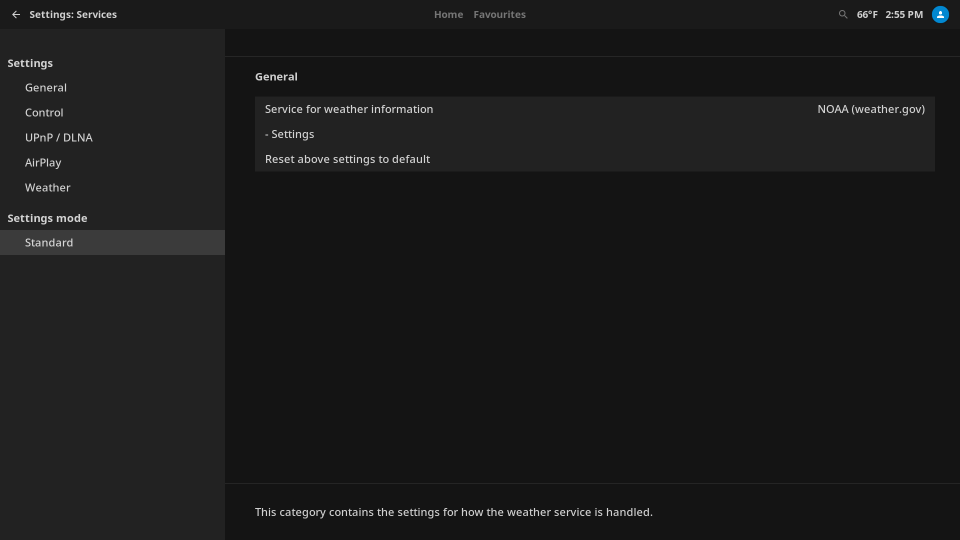
Scroll back up to “Control” under settings. Nagivate to the “Web server” section.
Enable “Allow remote control via HTTP.” You will then configure/verify the following settings
- Port: Kore will use Port 8080 by default. If you want/need to use a different port, enter the port number here.
- Require authentication: it is strongly recommended that you enable this so that credentials are required to connect the Kore app to your CoreBOX.
- Username: set a username for connecting Kore to the CoreBOX (changing the default is strongly recommended)
- Password: set a password for connecting Kore to the CoreBOX (changing the default is required)
- Enable SSL: this is optional and generally not required or recommended for using Kore remote. If you enable this, you will have to go through the SSL certificate generate process, so don’t choose this option unless you understand the use of SSL certs.
Web Interface: leave this at the default value.
Application control –
- Enable Allow remote control from applications on this system
- Enable Allow remote control from applications on other systems

Scroll up to “General” under settings.
Zeroconf –
- Enable Announce services to other systems.

Set up the Kore remote control app on your smartphone
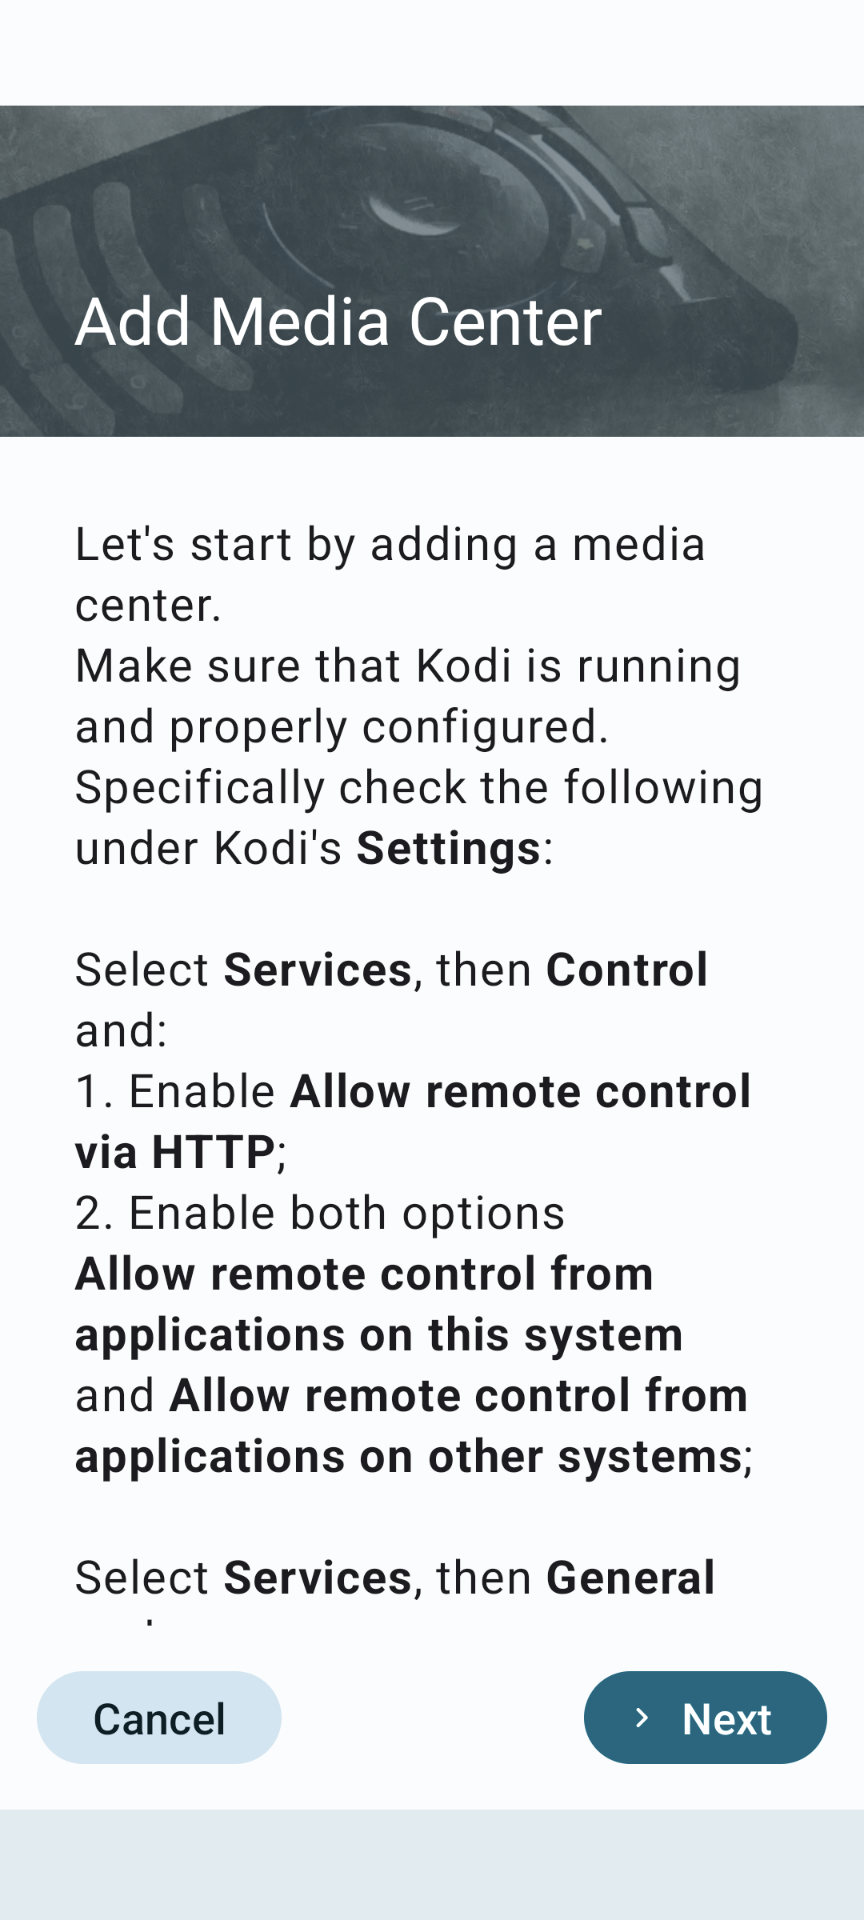
Download and install the app for your device using the links at the top of this article, then run the app. You’ll be prompted to connect a media center to your remote. The instructions shown on this page are the ones you’ve already completed, so tap “Next.”
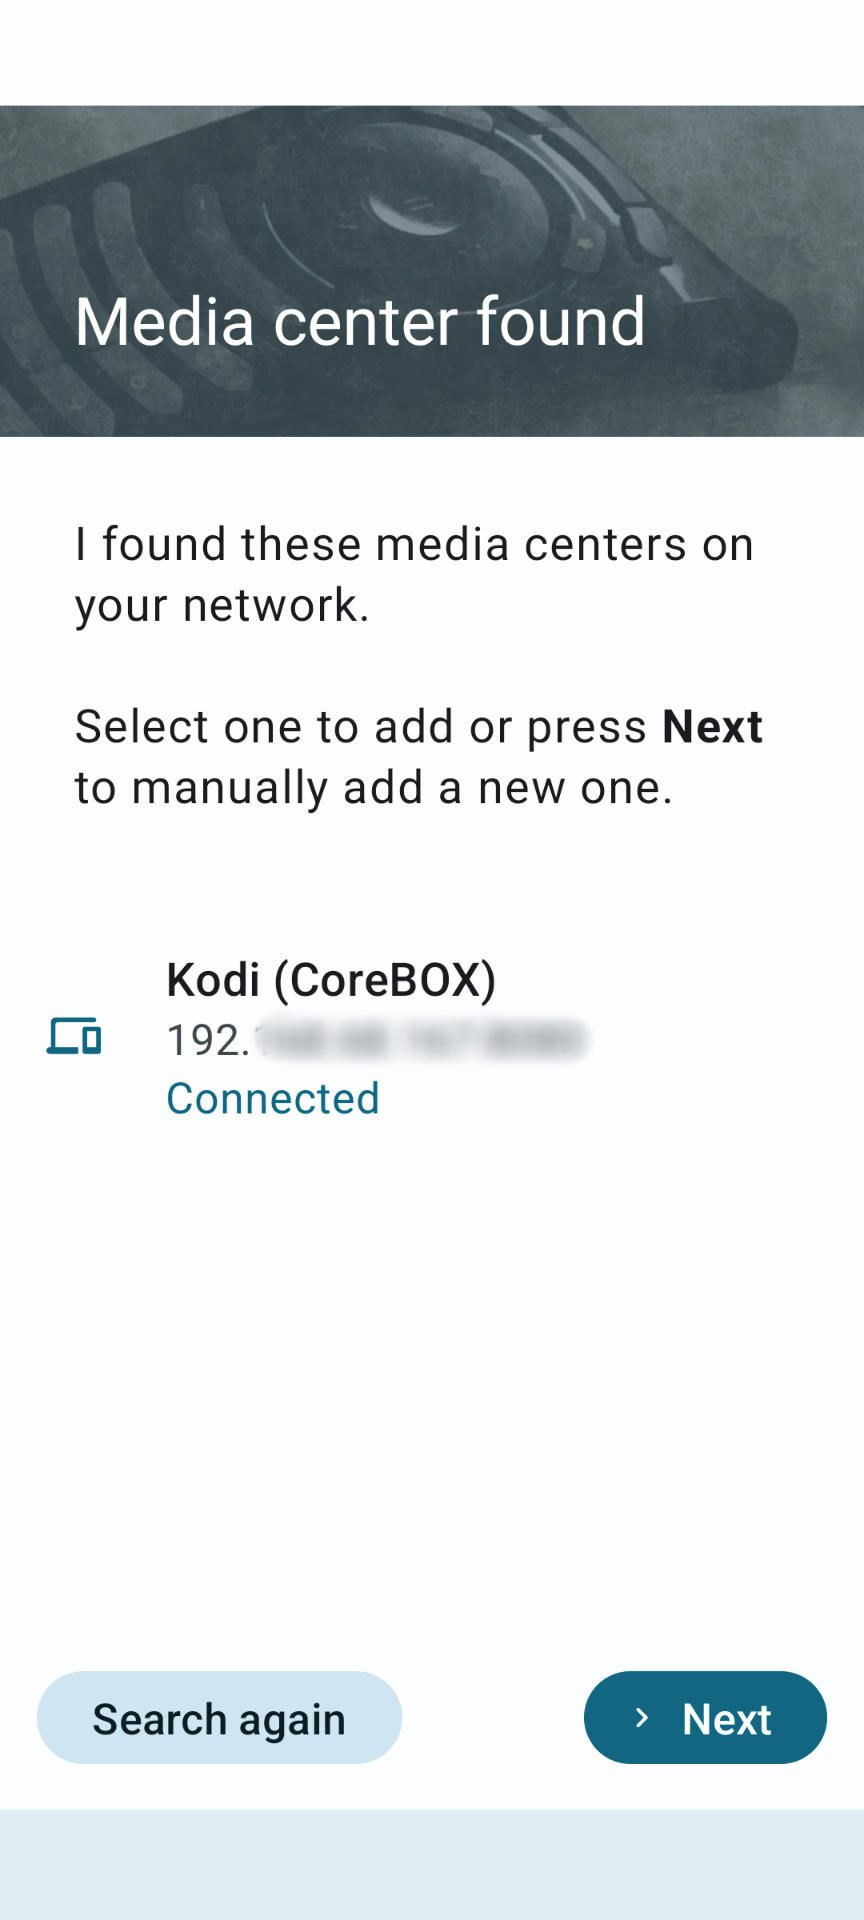
The Kore remote app will scan for the CoreBOX on your local network and display what it finds. Repeat the scan if the remote app does not find your CoreBOX on the first try. If the CoreBOX is not found after 2-3 attempts, verify that it’s still connected to your home network, and double-check the configuration described in the first section.
Tap the name of your CoreBOX on the app to continue to the next step.
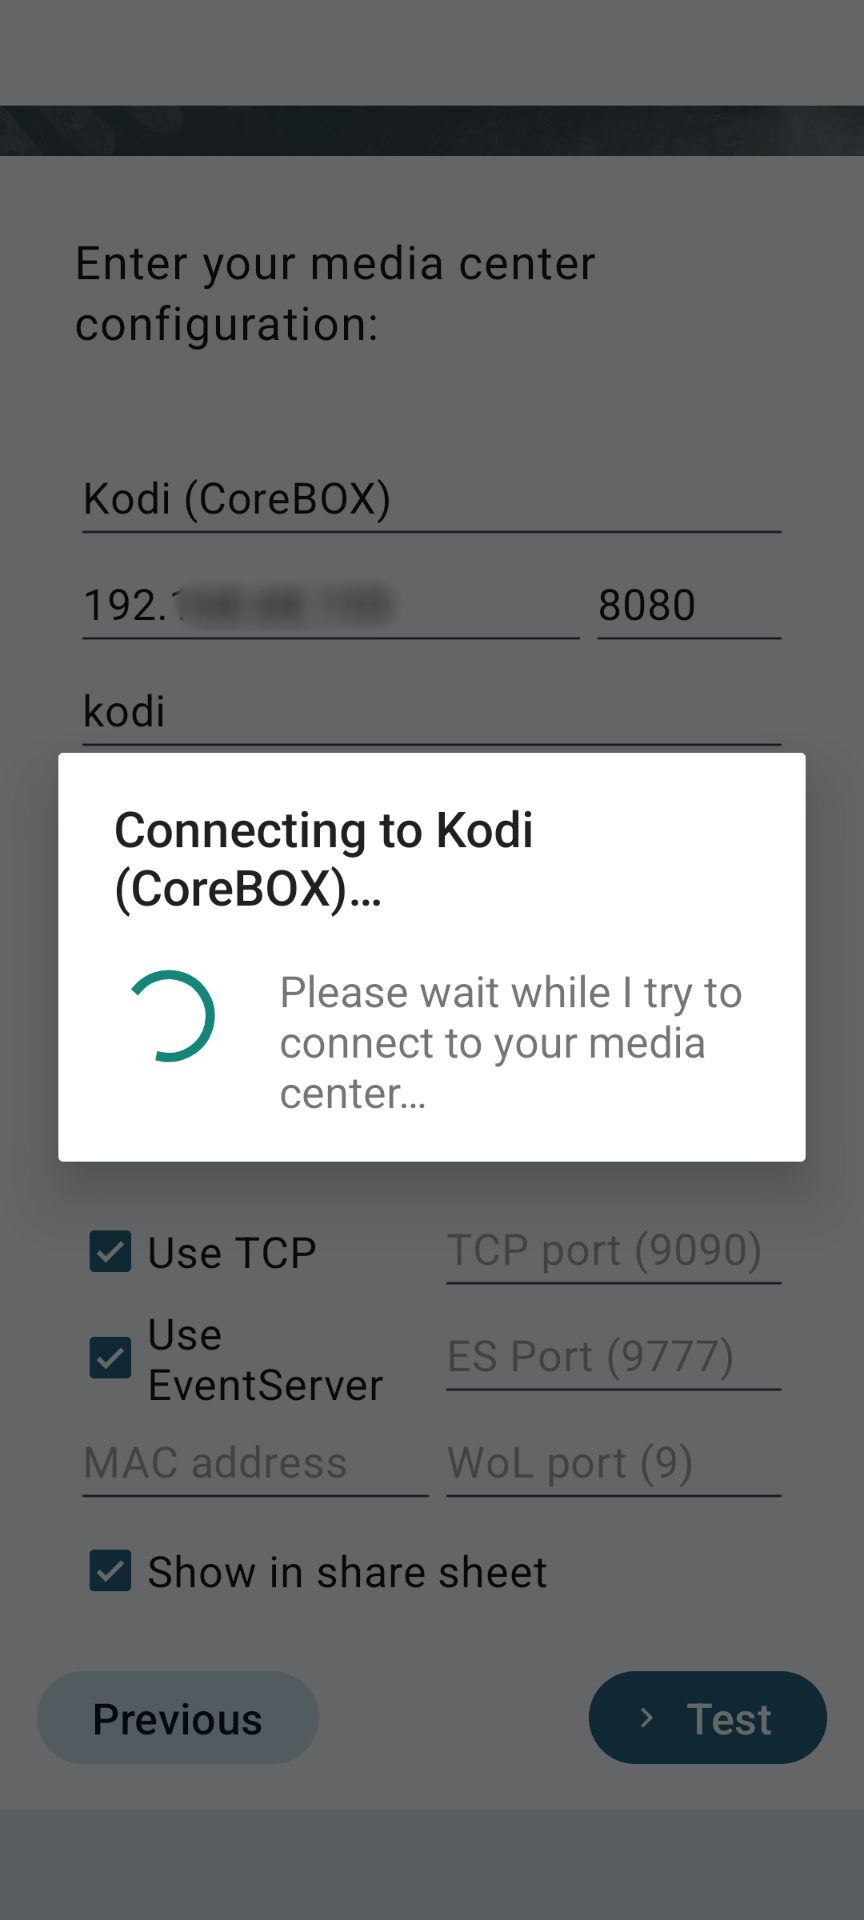
You’ll be prompted to enter the username and password you set up in the first section. Provide those in the supplied fields, and leave the rest of the settings at their default values. Tap “Test” to verify connectivity to your CoreBOX.
If the test is successful, the Kore remote app will connect to your CoreBOX and display the “All done!” screen below. You can then tap “Finish to begin using the remote.
If the test is not successful, confirm your username and password and try again. Usernames and passwords may be case-sensitive, depending upon your phone OS.

Your Kore remote is now ready to control your CoreBOX!