The Live TV tuner has a built-in channel manager that allows you to disable/enable channels, rename channels, and create custom channel groupings.
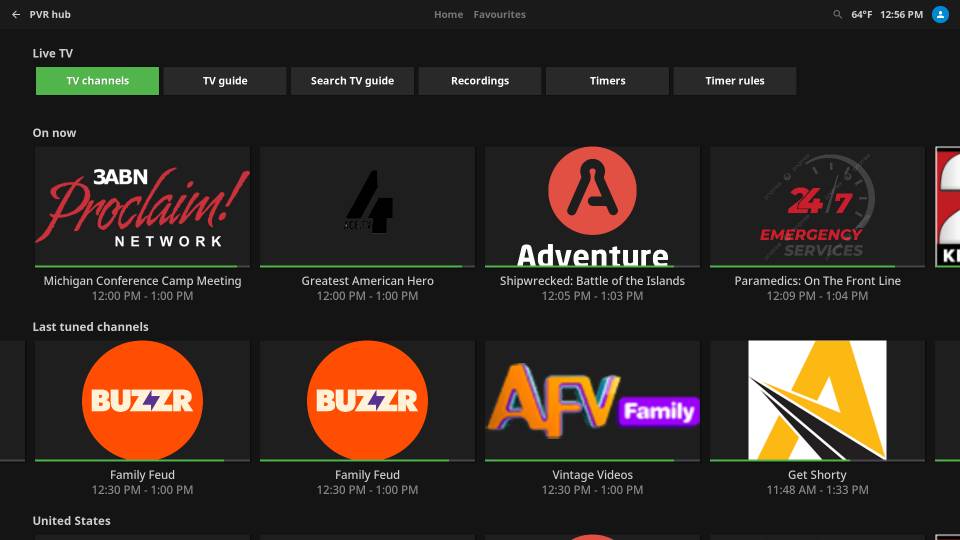
To access the channel manager, click on the Live TV item on the CoreBOX home page, then click on TV Channels.
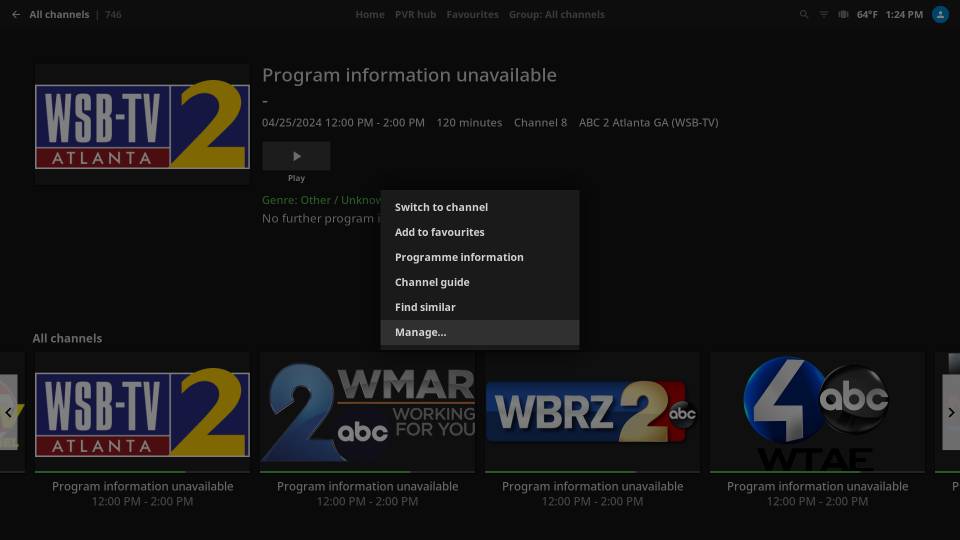
Highlight any TV channel in the list, then click the hamburger button (☰) on your remote. Highlight “Manage…” in the menu that appears, then press the “OK” button on your remote.
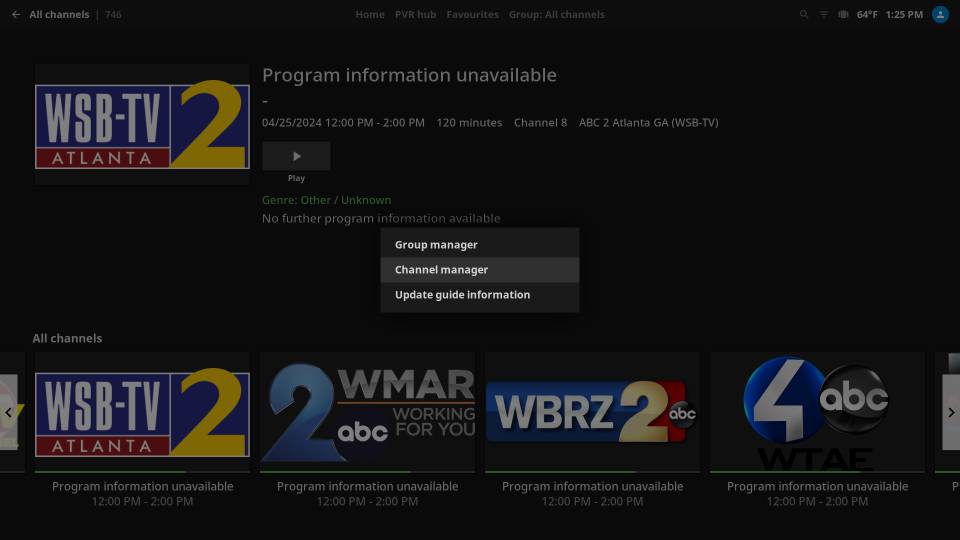
You’ll see a second menu. Highlight the “Channel manager” item, then press the “OK” button.
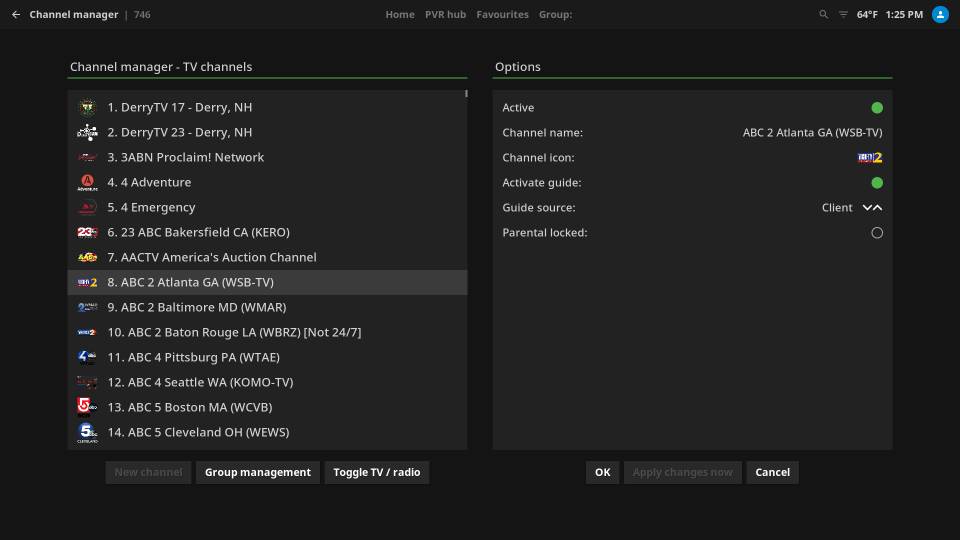
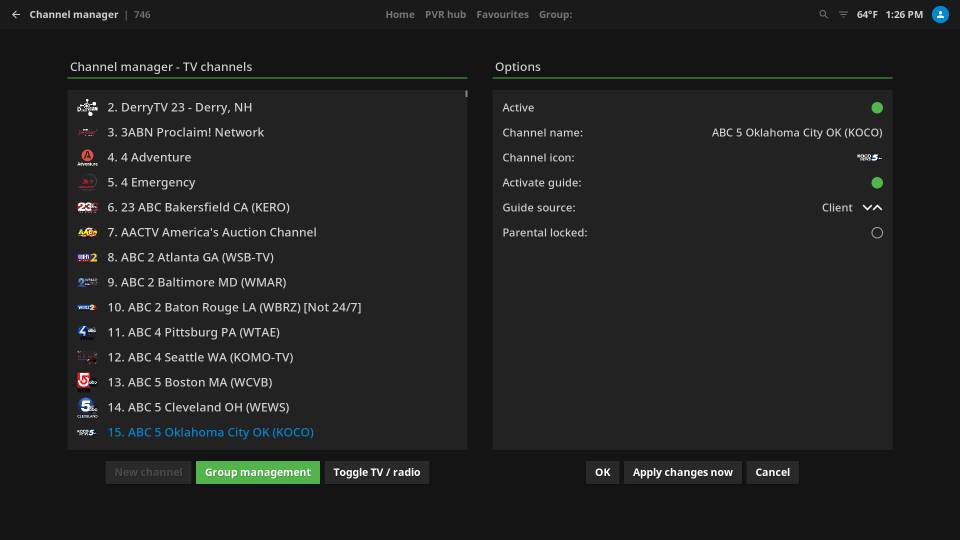
The Channel Manager lists all available channels in the left column. Use the arrow ring on your remote to scroll up and down the list. Options for each channel are shown in the right column when that channel is highlighted. Use the right arrow on your remote to access the right column so you can work on the options for the highlighted channel:
- Active: You can mark a channel active or inactive by toggling this option with the “OK” button. Inactive channels will not appear in your channel list or groups.
- Channel name: You can give the channel a different display name.
- Channel icon: If alternate icons are available, you can change the icon for the channel (only one icon for each channel is provided by default, but you can place alternate icons on the CoreBOX’s local storage if desired).
- Activate guide: This controls whether or not the channel’s electronic programming guide (EPG) is active.
- Guide source: Allows you to select an alternate source for the EPG, if available (only “Client” is available by default).
- Parental locked: This allows you to set up a parental lock with a passcode for the channel.
If you make any changes to one or more channels, scroll down to the bottom of the right column and highlight “Apply changes now,” then press “OK” on your remote to activate your changes. Highlight “OK” and press the “OK” button on your remote if you want to save but NOT apply your changes. Highlight “Cancel” and press the “OK” button on your remote if you want to discard your changes.
“Toggle TV/Radio” switches between your TV channel list and your Radio channel list. CoreBOX does not currently supply radio station feeds, so this function is not used.
To manage channel groups, highlight the “Group management” option, then press “OK” on your remote.
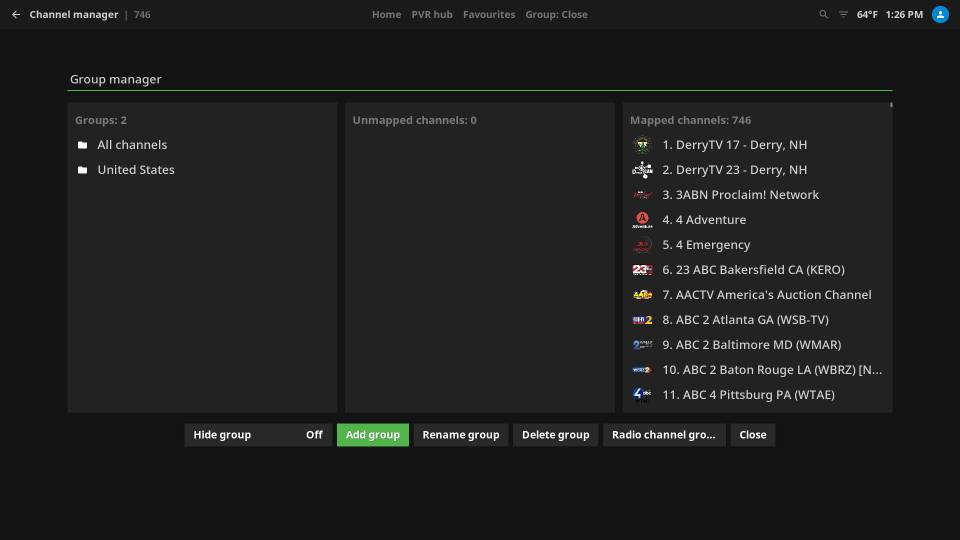
CoreBOX has two default groups: “All Channels” and “United States.” Both groups contain the same channels by default. You can create as many groups as you would like, and add/remove channels from each group in this view. Groups appear as rows of channels on the Live TV home screen.
To create a new group, highlight “Add group at the bottom of the screen and press “OK.” Type the name for your new group, then highlight and click “OK” on the return key of the on-screen keyboard.
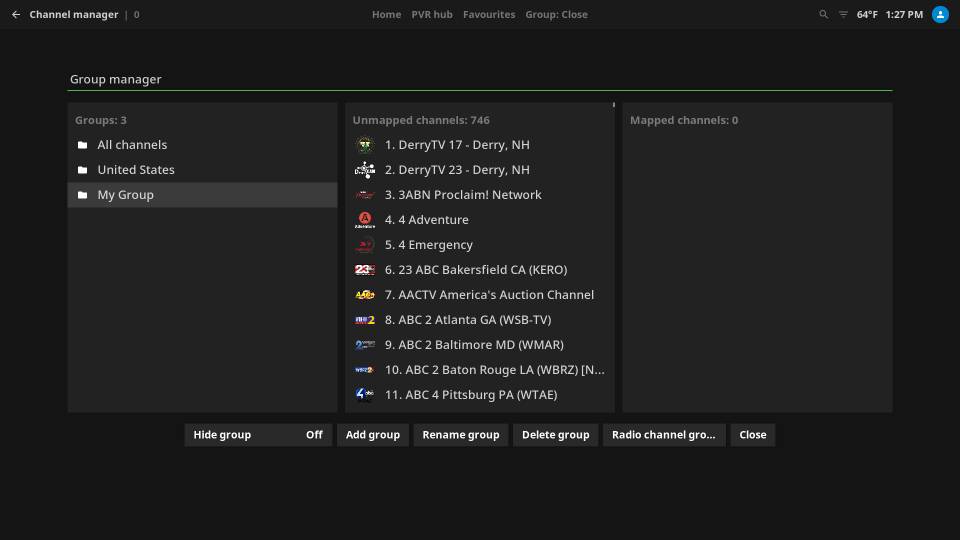
In this example, we followed the steps above to create a new group called “My Group.” Using the arrow ring on the remote to highlight that group, we see available channels in the middle column and channels that are in the group in the right column.
Highlight a channel in the middle column that you want to add to your new group, then press “OK’ on your remote. The channel is moved to the right column when it’s added to your group.
If you want to remove a channel from the group, use the arrow ring on your remote to move to the right column, highlight the channel you wish to remove, then press “OK” on your remote. The channel will be moved out of your group and back to the middle column.
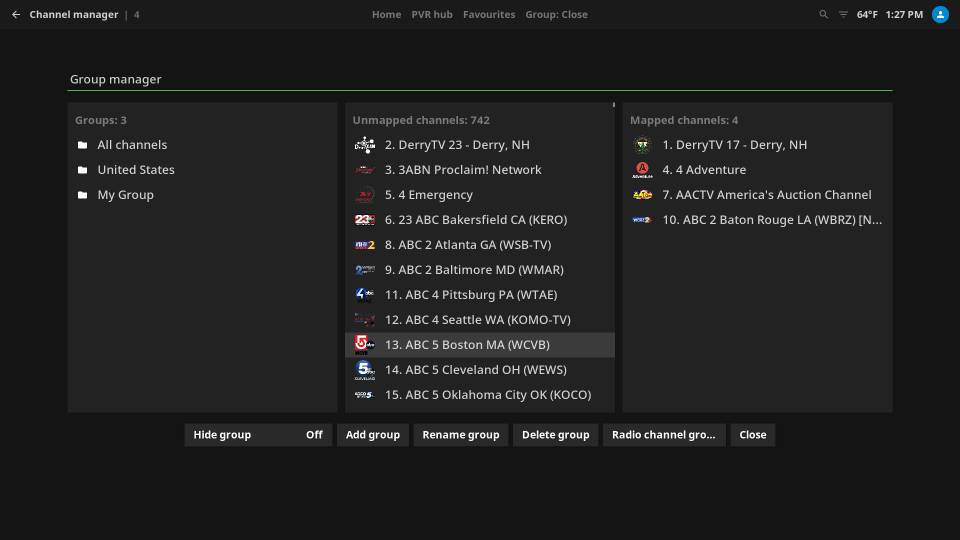
You can also rename and delete groups from this view. Deleting a group does not delete channels, they just are unmapped from the deleted group.
You can hide a group using the button at the bottom of this screen. The channels in the group are not hidden, as long as appear in one or more of the other groups.
