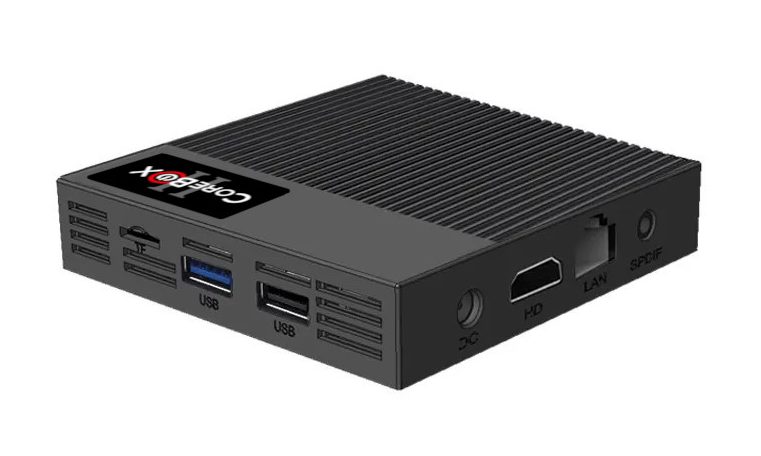
The CoreBOX 2 supports recording and playback of any content available in the Live TV channel list. Recording is NOT available for live or on-demand content via add-ons such as PlutoTV, Crackle, Netflix, Disney+, etc. You can record a program while watching it, record one program while watching another, and schedule the recording of upcoming programs.
NOTE: Most content available via this device’s Live TV tuner is protected by copyright laws. By using this PVR/DVR device, you acknowledge that you have read, understood, and agree to comply with this disclaimer. Your use of this device constitutes acceptance of these terms and your commitment to responsible and lawful use of copyrighted content.
Recording Live TV
G0 to the Live TV hub from the device’s home screen by clicking the “Live TV” icon. You can start or schedule a recording using several methods.
Record What’s On Now
Record what you are currently watching
While watching a channel, press the “OK” button on your remote to bring up the on-screen controls, then highlight the round dot at the bottom of the screen and press “OK” on your remote again. Recording of the current channel will begin immediately.

Record from the “On Now” panel
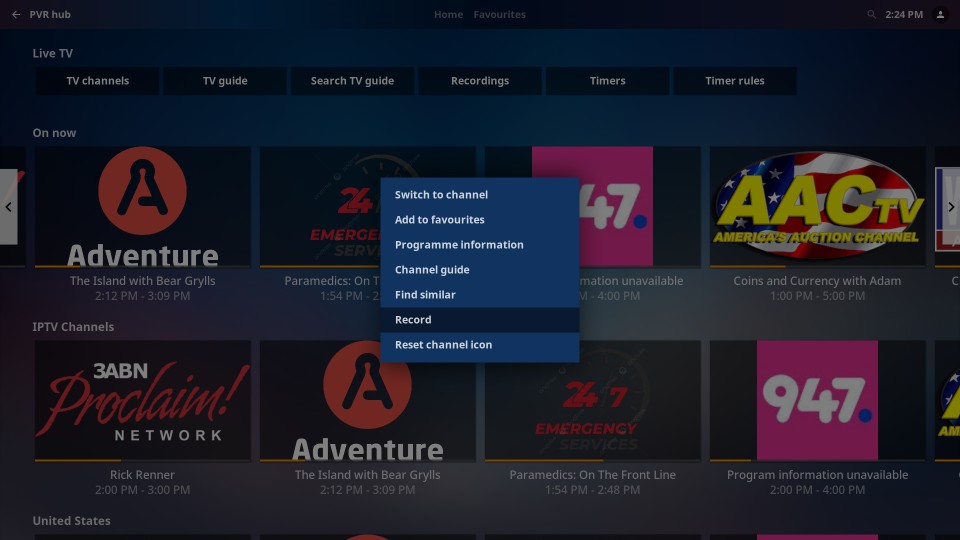
Scroll through the “On Now’ panel of the Live TV hub to locate the channel you wish to record. With that channel highlighted, click the hamburger button (☰) on your remote, then select “record” from the that appears and click the “OK” button. Recording will begin immediately.
Record from the TV channels list
You can also start recording a program that is currently on from channel list. Select the “TV channels” button from the Live TV home screen, and click “OK” to display the channel list. Scroll through the channels to find the one you wish to record, had highlight it. Then click the (☰) button on your remote and choose “record” as before.
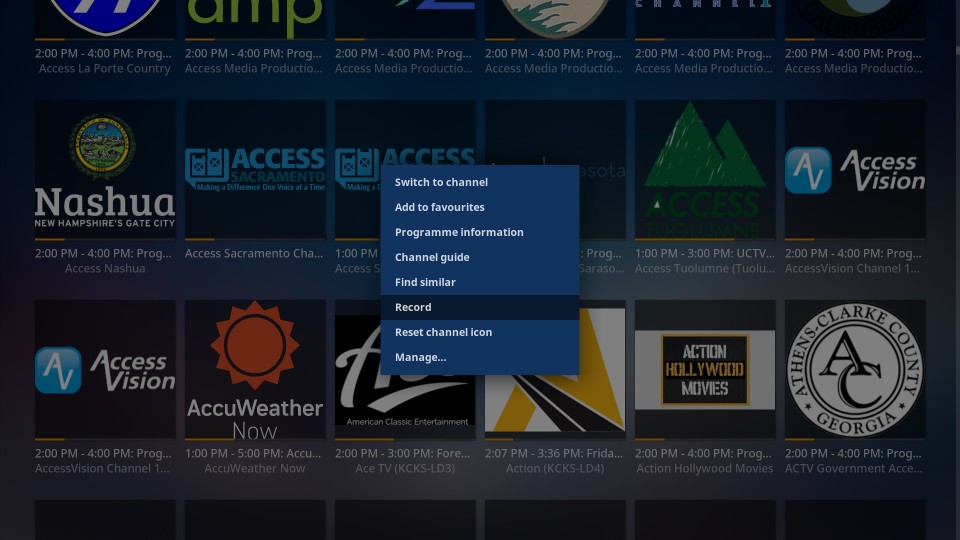
NOTE: when you start a recording using one of the above methods, the recording will continue indefinitely until you manually stop it. To stop a recording:
- View the channel that is being recorded;
- Press the “OK” button on your remote to show the onscreen controls;
- Highlight the red “recording” dot at the bottom of the screen;
- Press the “OK” button on your remote to stop the recording.
Record Current and Upcoming Programming from the TV Guide
Note: CoreBOX 2 will allow you to record different programs concurrently. However, the quality and performance of the recordings can suffer if too many recordings are attempted simultaneously. We recommend limiting recording to no more than two simultaneous recordings at any given time.
Record current programming
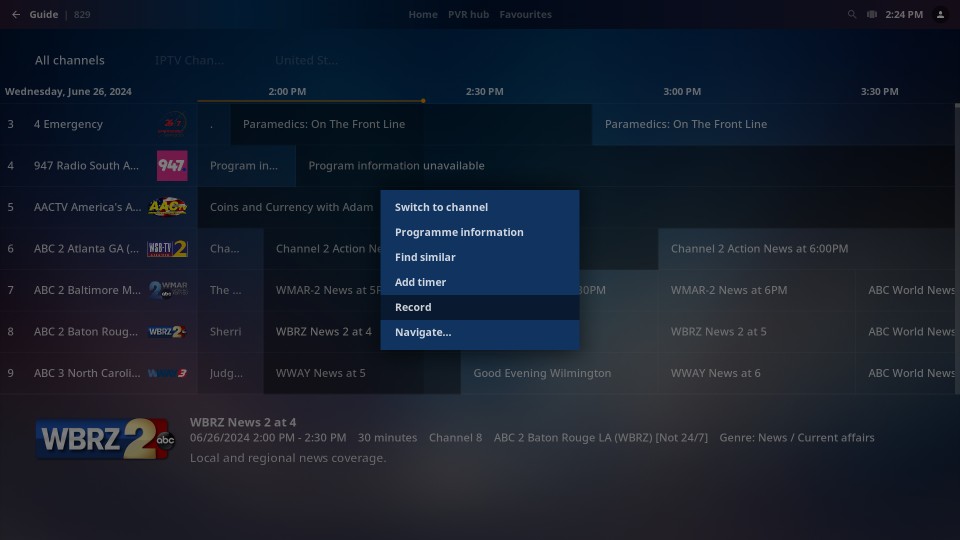
Select the “TV guide” item from the Live TV home screen and press “OK” on your remote. Scroll through the guide to highlight the program you want to record, then press the (☰) button on your remote and choose “record” as before. Note that a red dot will appear on the guide next to the item that is being recorded. If the program is currently in progress, it will begin recording immediately.
Record upcoming programming
You can also choose an upcoming program to schedule for recording by highlighting that program, pressing the (☰) button on your remote, and choosing “record” as before. A timer will be set to automatically record the program when it starts. More information about timers appears below.
Manage Recording Timers
The CoreBOX 2 uses timers to manage the recording of upcoming programs. You can edit and delete these timers to change timer parameters or cancel a program’s recording.
Editing or deleting a timer from the TV Guide
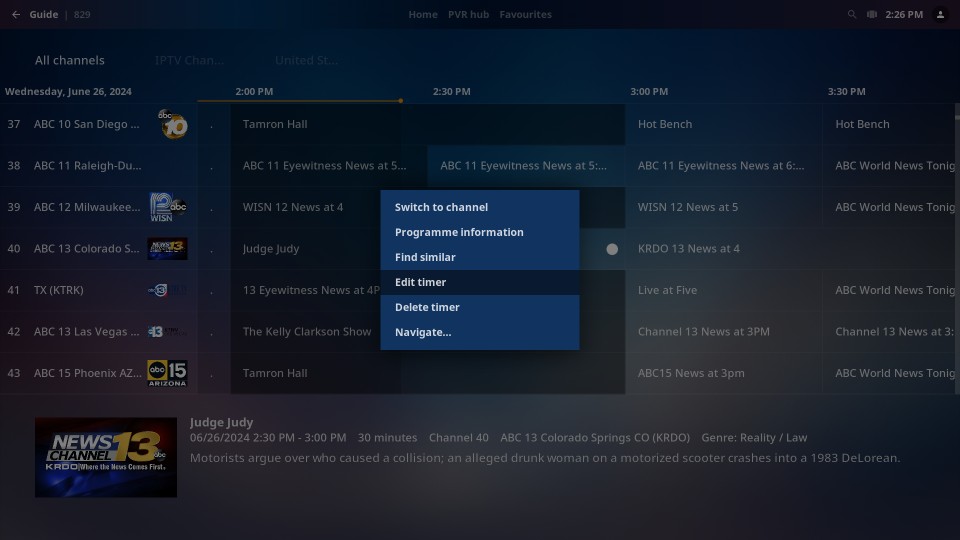
From the Live TV hub, highlight “TV Guide” and press “OK” on your remote. Locate the upcoming program set to be recorded – a white dot will be displayed next to the program name in the TV guide. Press the (☰) button on your remote, then choose “Delete timer” or “Edit timer” from the menu and press the “OK” button on your remote. “Delete timer” removes the recording from your schedule – you will be asked to confirm this action before the deletion. “Edit timer” opens the Timer settings dialog.
In the Timer settings dialog, you can change various values for the timer, including the amount of padding on the start and end of the recording and the recording type. When done, highlight “OK” and press the “OK” button on your remote to save your changes or “Cancel” to quit without saving.
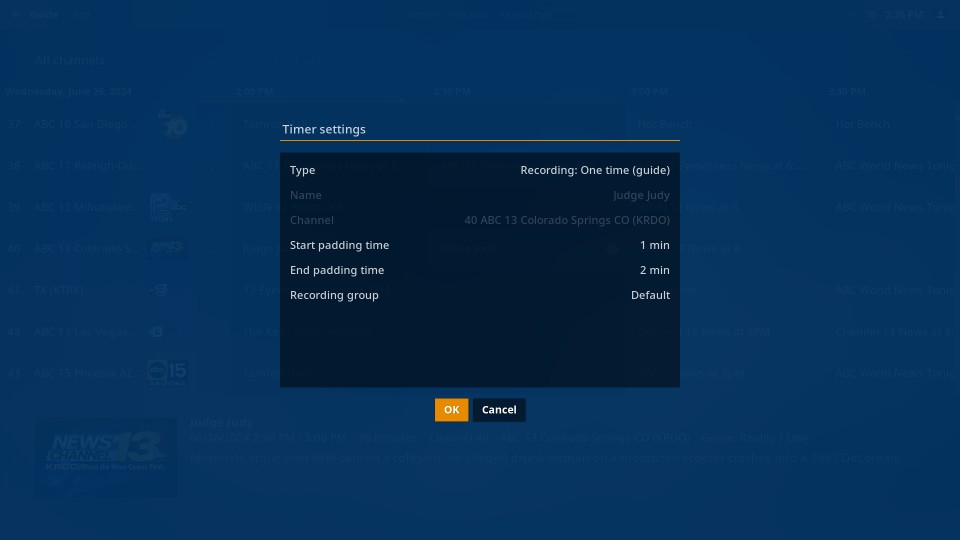
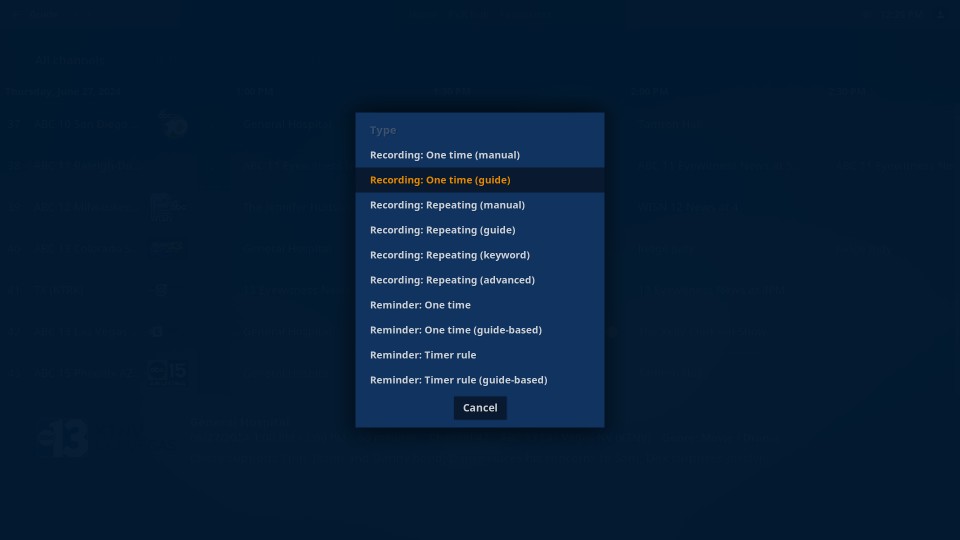
Highlight “Type” in the dialog and press the “OK” button on your remote to see the options for timer types. Note that you can edit any timer, regardless of how it was initially created, and substantially change its behavior by changing the timer type. A brief overview:
- Recording: One time (manual): Makes a single recording – you manually set the channel, day, start time, and end time.
- Recording: One time (guide): Makes a single program recording, setting the channel, day, and times from the TV guide (this is the default when you set a recording timer from the TV guide as in the above example).
- Recording: Repeating (manual): Makes a series of repeating recordings – you manually set the channel, day, start time, and end time.
- Recording: Repeating (guide): Makes a series of repeating recordings, setting the channel, day, and times from the TV guide.
- Recording: Repeating (keyword): Makes a series of recordings based on one or more keywords you supply (to partially or fully match the name of a program)
- Recording: Repeating (advanced): Makes a series of recordings based on advanced criteria using a combination of parameters that you specify.
You can also change a recording timer to be a reminder timer instead, using the bottom four options in this dialog. Reminder timers put a message on the screen to remind you of an upcoming program following your criteria, but do not record that program.
Note that using one of the repeating timer types creates a timer rule, which in turn creates a series of individual timers that match the rule’s criteria. Timer rules are covered in the next section.
Highlight the type of recording (or reminder) you wish to use, then press the “OK” button on your remote to return to the Timer settings dialog. If you don’t want to change the time type, highlight “Cancel” and press “OK” on your remote.
Depending upon which type you choose, you may need to set additional parameters for the timer/timer rule. When done with the Timer settings, highlight “OK” and press the “OK” button on your remote to save your changes or “Cancel” to quit without saving.
Editing or deleting a timer from the “Timers” screen
Highlight the “Timers” item at the top of the Live TV hub screen, then press “OK” on your remote. Any timers set individually or created from a timer rule will be displayed here.
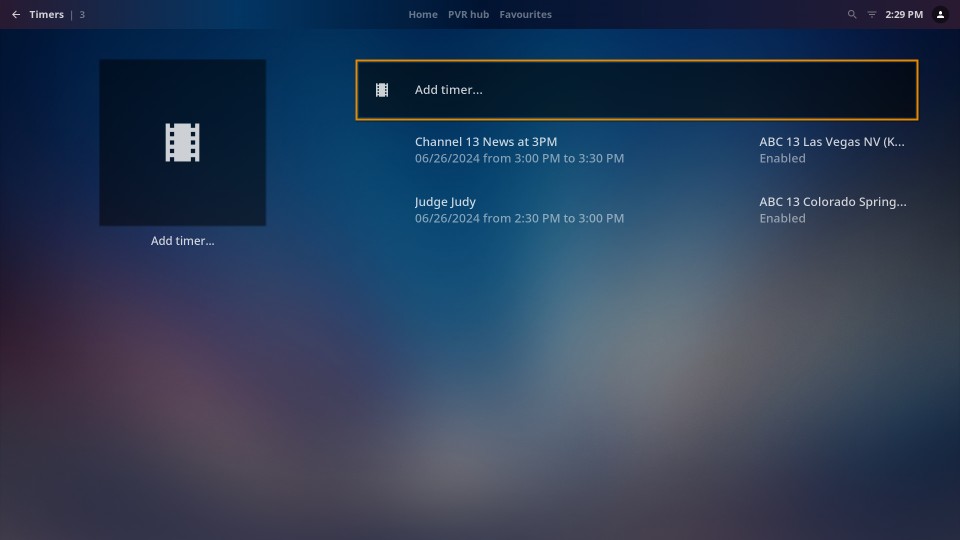
You can edit a timer by highlighting it and pressing “OK” on your remote. Timer settings were discussed in the previous section. To delete a timer, highlight it and press the (☰) button on your remote, then highlight “Delete timer” and press “OK.”
You can add a timer from this screen by highlighting “Add timer…” and pressing “OK” on your remote. Then, set the various parameters to match the item you wish to record.
Editing or deleting a Timer rule
If you set up a repeating timer, a timer rule is created that matches the parameters you supplied and automatically generates a series of individual timers for the rule. You can edit and delete time rules by highlighting “Timer rules” at the top of the Live TV hug and pressing “OK” on your remote. The Timer rules screen looks like the Timers screen and functions similarly when editing or deleting Timer rules.
When you edit or delete a timer rule, all the individual timers created by that rule are updated or deleted along with the rule.
You can also delete a timer rule from the TV Guide. Timers controlled by timer rules are indicated as a pair of mostly overlapped dots on every scheduled item to be recorded. Highlight the programming that the rule applies to and press the (☰) button on your remote, then highlight “Edit timer rule” or “Delete timer rule” and press “OK.”
Watching Recordings
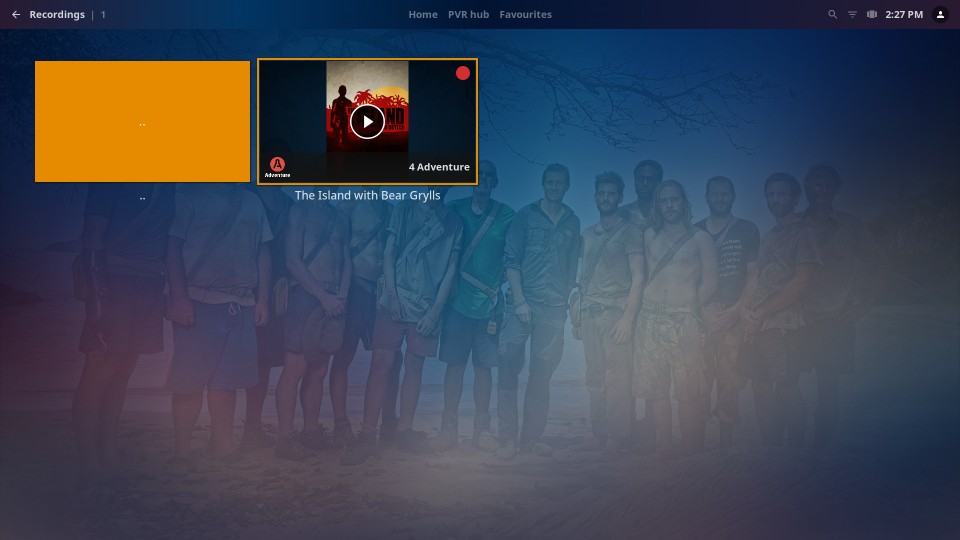
To watch your recorded programs, highlight “Recordings” at the top of the Live TV Hub and press “OK” on your remote. A folder is automatically created for each program you’ve recorded. With that folder are the individual recordings of that program.
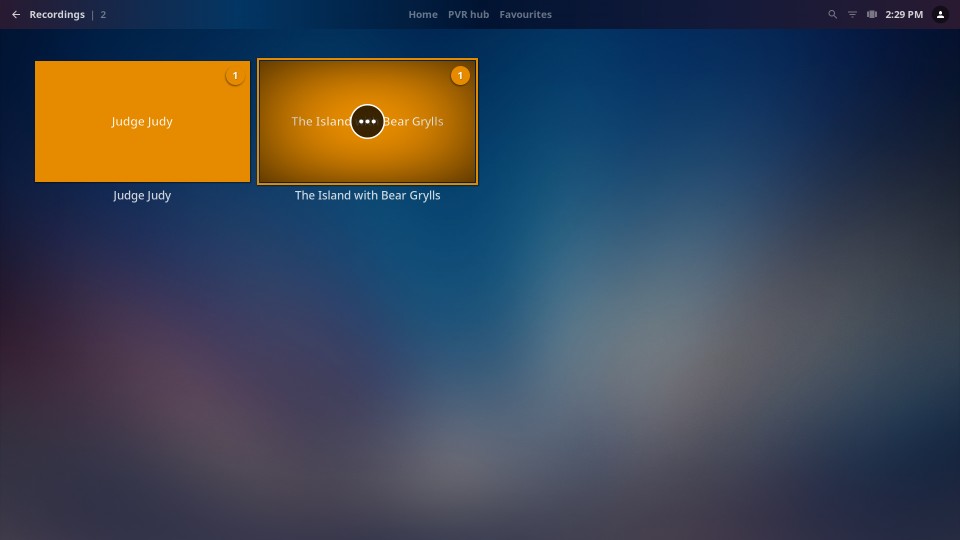
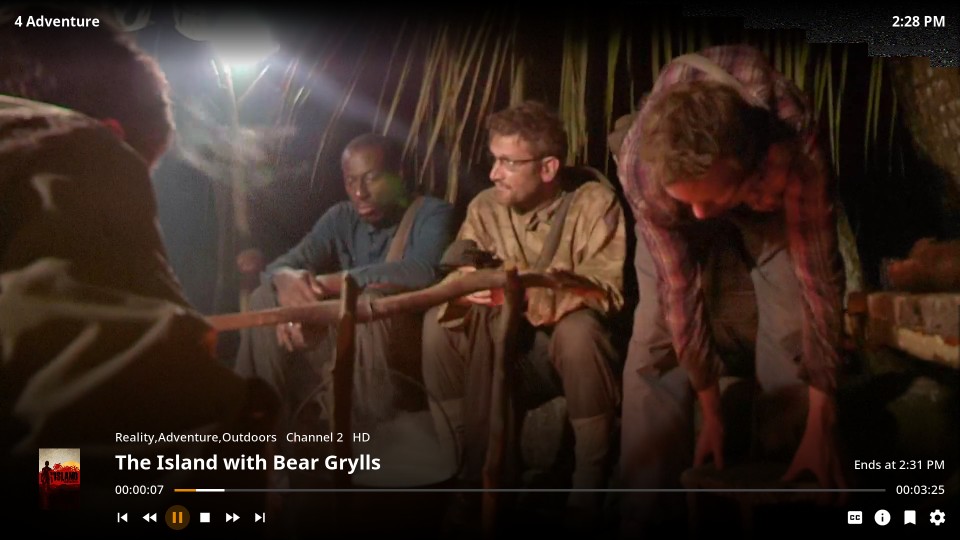
Highlight the folder that contains the programs you want to watch and press “OK.” Select the episode you wish to view by highlighting it, then press “OK” to start playing the recording.
