If you have movies, music videos, or TV shows stored on disk, you can connect those volumes to CoreBOX and it will automatically index and add them to your on-screen library.
The source storage containing your media files can be directly connected to the CoreBOX via it’s USB port, or accessed over your home network via Network File System (NFS) or Windows Network (SMB). Please note that using file shares over your local network requires configuration of the device containing the files so that it will share the volumes you wish to access by one of the supported methods (SMB or NFS). Please consult instructions for your file sharing device or computer operating system for details on sharing files and directories on your network.
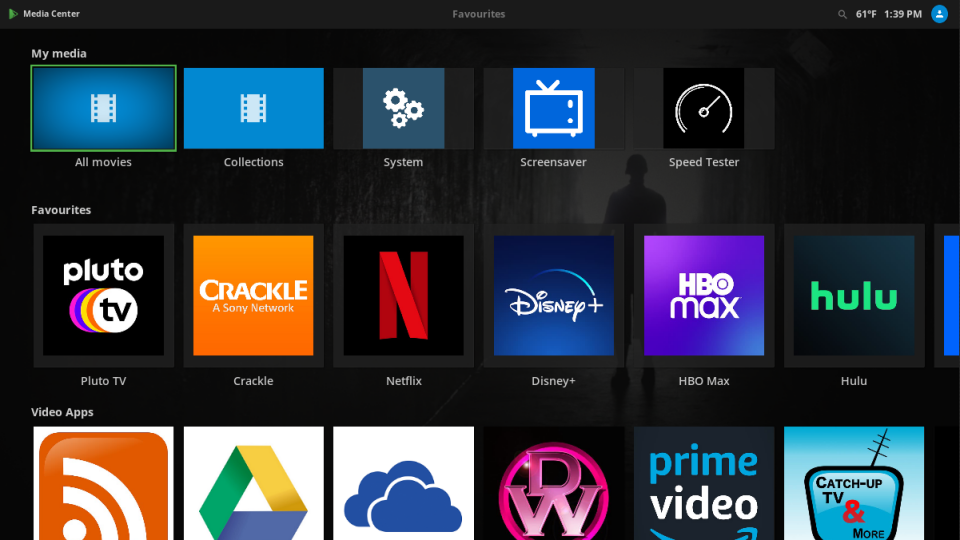
To add your personal media to CoreBOX, select “Local Media” at the top left of the home screen, and click “Ok.”
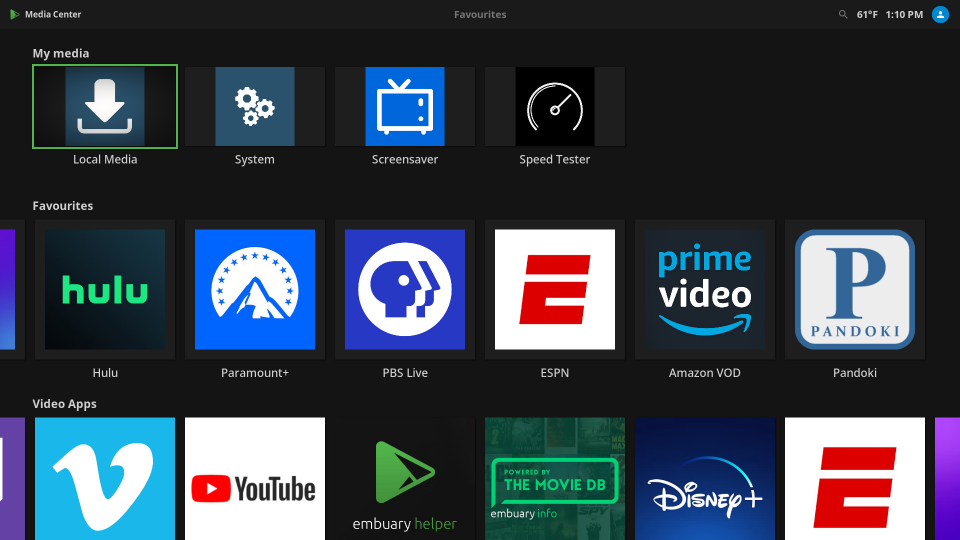
On the next screen, you’ll see some default icons for accessing items stored directly on the CoreBOX’s internal storage (storing media files on the CoreBOX internal storage is NOT recommended). Scroll to the bottom to highlight “+Add videos…” then click “OK.”

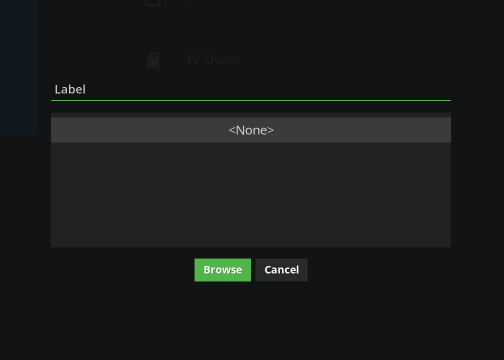
In the dialog box that appears, highlight “Browse” and click “OK.”
Find the device (such as a USB hard drive) in the list, or highlight “Network File System” or “Windows Network” to browser for network shared volumes. In this example, we’ll choose “Windows Network” by highlighting it and clicking “OK.”
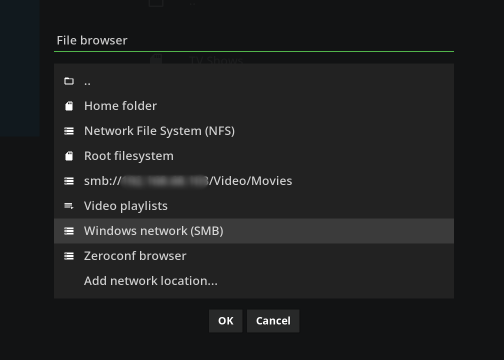
Sometimes file locations that are available to be added to CoreBOX will not show up in the list – this is sometimes the case with older devices, like network storage devices, that use older versions of file sharing protocols. In those cases, you can go back to the “+Add Videos” step, and manually add the path to the shared folder you want, such as “smb://n.n.n.n/FolderName” or “smb://devicename/FolderName.”
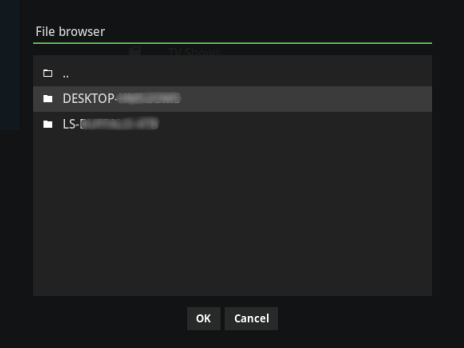
In this example, there are two file sharing locations available on the local network that we can browse. We’ll select the desired one by highlighting it and clicking “OK.”
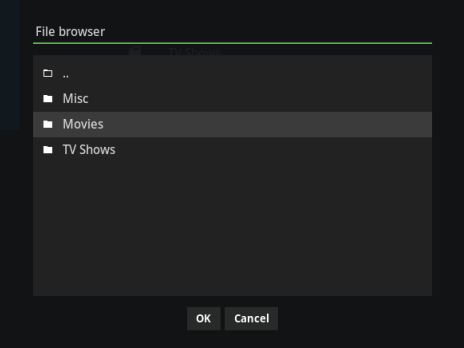
We’ll select the folder we want to use with the CoreBOX (in this example, it’s folder containing some horror movies) by highlighting it, and clicking “OK.”
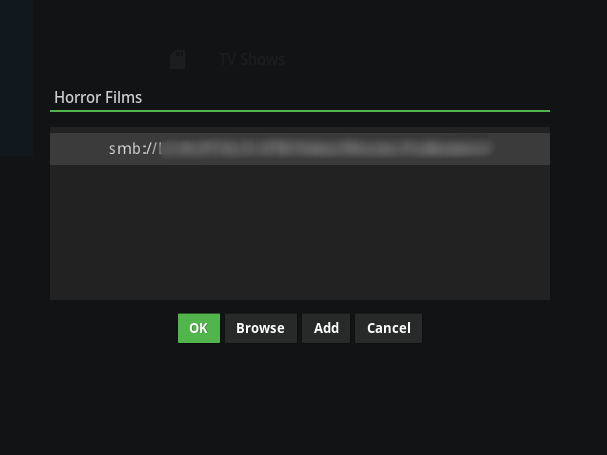
The dialog will display the full network path of the folder we just selected. We can edit the name, which has been changed here from “Movies” to “Horror Films.” We click “OK” when done.
CoreBOX will now ask for the type of content contained in the folder – Movies, TV Shows, or Music Videos. We’ve selected movies. In most cases, accepting the defaults for the rest the of the options is best. When done, we click “OK.”

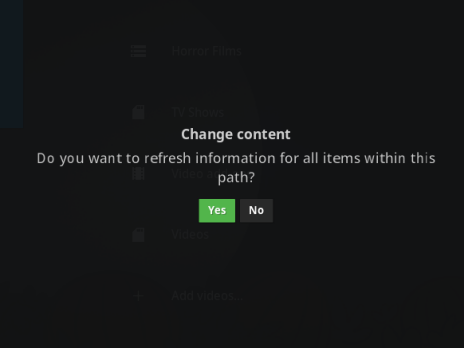
We’ll be prompted to refresh the information for all items in the folder. Highlight “Yes” and click “OK.”
The CoreBOX will index all the media found in the folder we just added and build new menus. This process can take some time if your library is large. If you’ve added TV shows, CoreBOX will index and group all episodes and seasons found for each TV Series, so be prepared to wait a while.
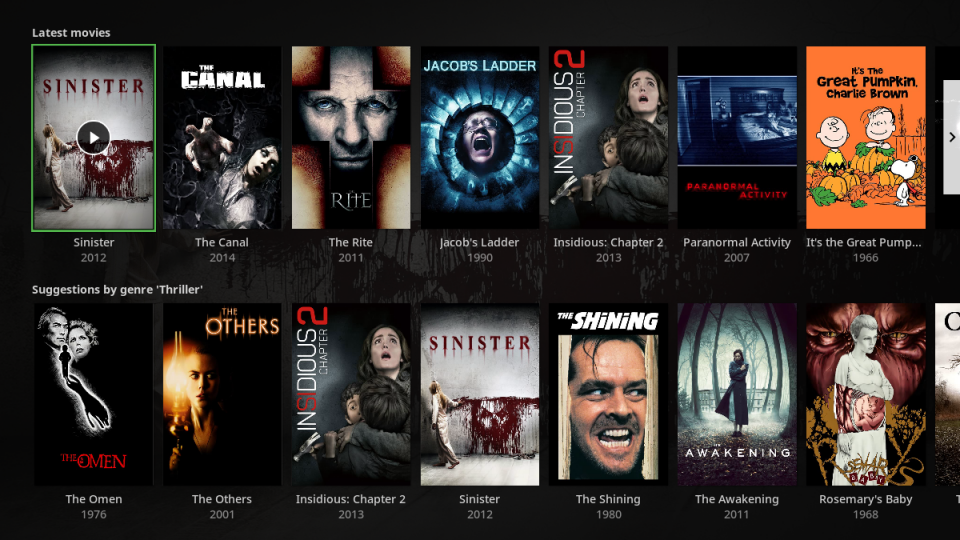
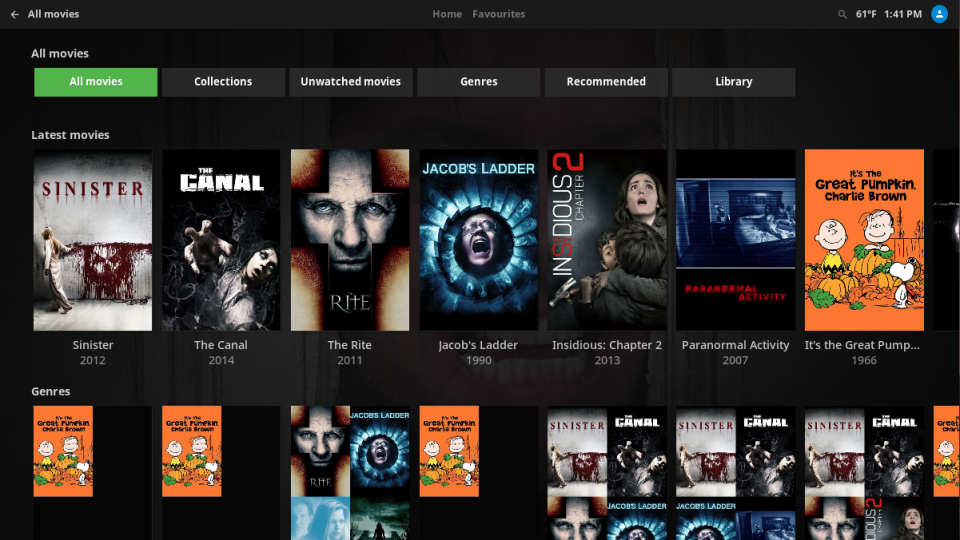
When the process is complete, new item(s) will be added to the home screen. Below we see that we now have “All Movies” and “Collections” (for movies in a series, like the Star Wars films). We’ll highlight “All Movies” and click “OK.”
On this new screen, we can browse the movies in our personal library, and view various groupings (“Collections,” “Unwatched,” etc.)
Our movies are also available from the home age. We’ll return there and scroll down. We see new panels are available with our movies from our personal library, along with various groupings.